Humidity + limited airflow make bathrooms and basements the most common "mold zones" in a home. Bathrooms generate moisture daily from showers and hot water, while basements trap moisture from cool surfaces, groundwater pressure, and seasonal humidity swings. For homeowners in Riverside and San Diego counties, that mix of warm days, cooler nights, marine influence (especially closer to the coast), and winter rains can create the perfect conditions for condensation and damp building materials.
The good news: mold prevention is mostly moisture control. If you manage humidity, stop liquid water intrusion, and improve airflow, you can significantly reduce the chance of mold returning—and avoid expensive remediation down the road.
Below is a deeper, more thorough guide you can use as a true "prevention playbook."
The Mold Basics: What It Needs to Grow (And How to Stop It)
Mold requires only a few ingredients:
- Moisture (humidity, condensation, leaks, seepage)
- A food source (drywall paper, wood, dust, fabrics, soap scum)
- Time (mold can begin growing within 24–48 hours if materials stay damp)
Prevention is about removing one of those ingredients—almost always moisture—and doing it consistently.
Your prevention targets
- Keep indoor humidity ideally between 35–55%, and avoid staying above 60%
- Prevent condensation on cold surfaces
- Fix leaks quickly and dry wet materials fast
- Maintain airflow so surfaces don’t stay damp
Why Bathrooms Are Mold Hotspots (And How to Shut It Down)
Bathrooms are high risk because they combine:
- Steam + warm humidity
- Frequent splashing
- Cool corners and shaded areas that dry slowly
- Organic buildup (soap scum, body oils, dust) that feeds mold
The most common bathroom mold locations
- Shower grout/caulk lines
- Behind toilets
- Under-sink cabinets
- Around exhaust fan housings
- Ceiling corners above showers
- Window sills and frames
- Towel bars, bath mats, and shower curtains
1) Ventilation That Actually Works (Not Just "Having a Fan")
An exhaust fan is the #1 mold-prevention tool in a bathroom—if it’s sized correctly and used correctly.
Best practices:
- Run the fan during showers and for 20–30 minutes after
- If your bathroom has no fan, add one (or upgrade it)
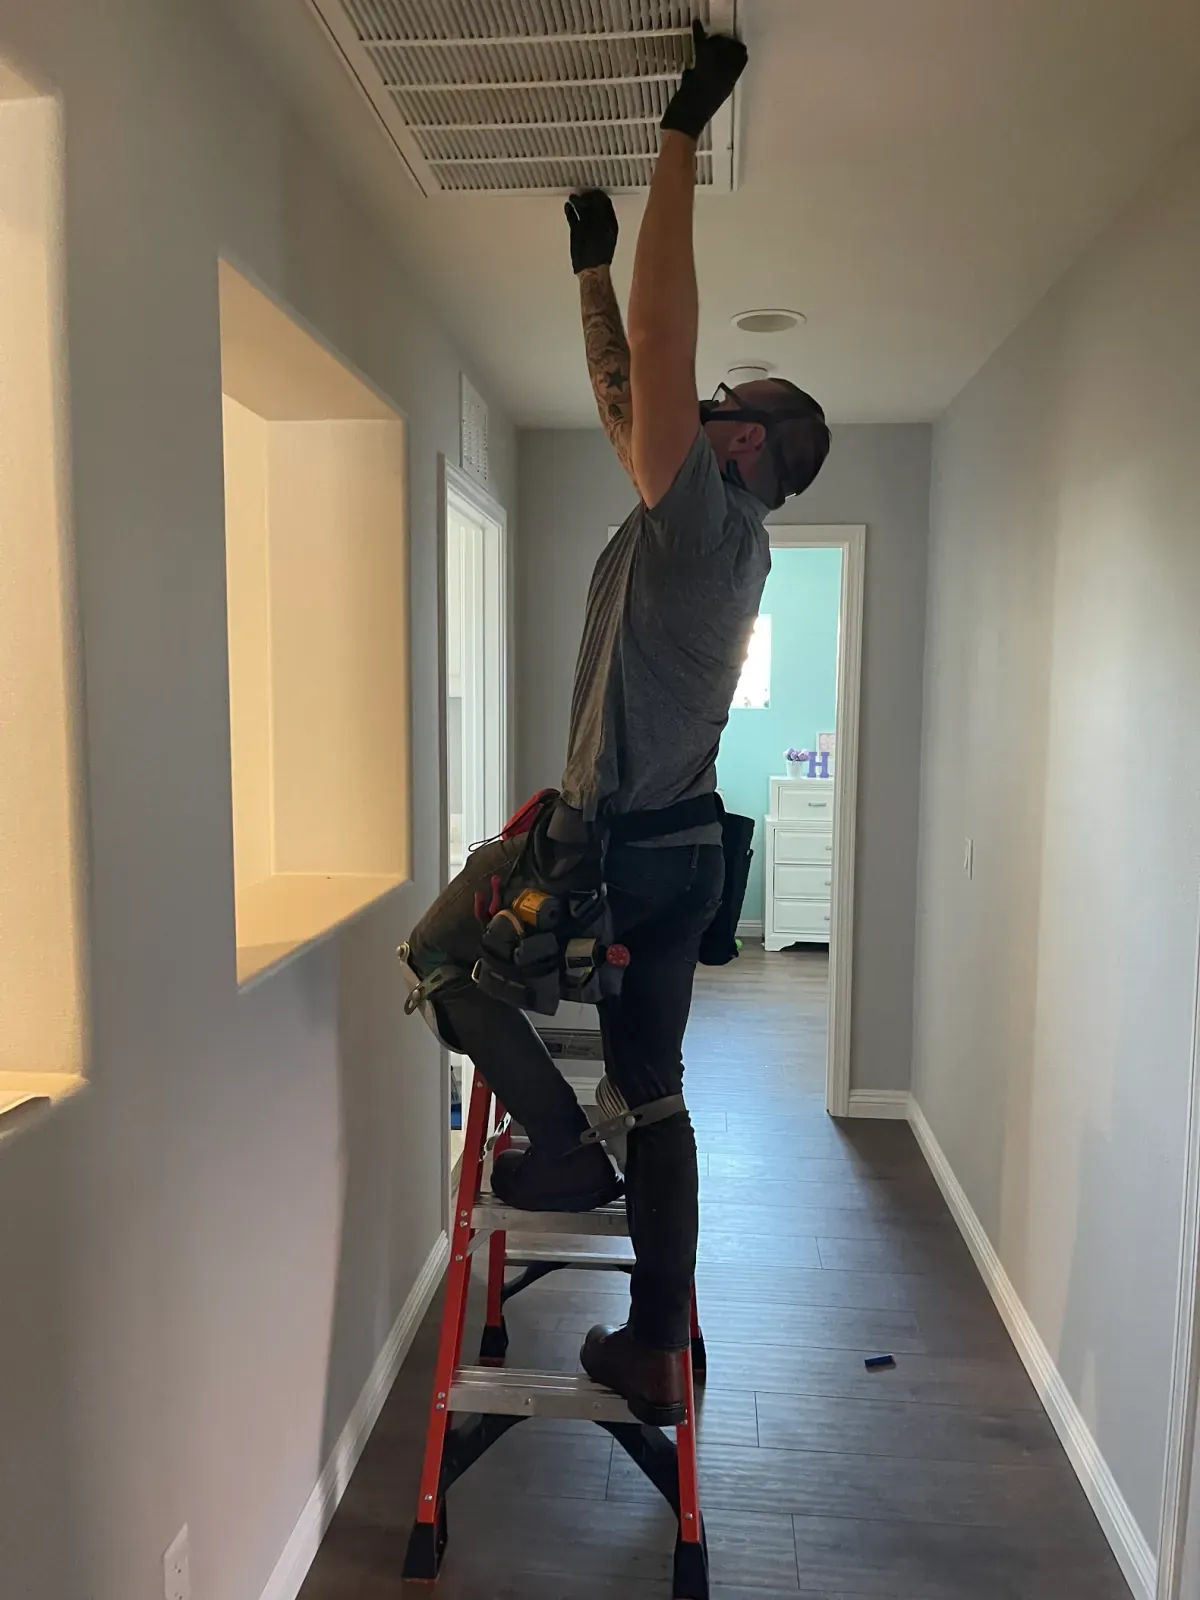
- Ensure the fan vents to the exterior (not into the attic)
Pro tip: If mirrors stay foggy long after a shower, your ventilation is likely insufficient.
2) Daily Surface Drying: The 60-Second Habit That Matters
Mold thrives on "always damp" surfaces.
Quick habits that work:
- Use a squeegee on shower walls/doors after use
- Wipe down ledges, niches, and corners where water pools
- Hang towels and bath mats so they dry fully (avoid leaving them bunched)
This reduces moisture AND removes the soap scum film that helps mold attach and grow.
3) Caulk and Grout: The Hidden Failure Points
Old, cracked caulk and failing grout are basically moisture traps.
Do this:
- Replace cracked or separating caulk (especially at the tub-to-tile seam)
- Seal grout periodically (depending on grout type and wear)
- Address hollow-sounding tile or loose tile quickly—water can be getting behind it
If moisture gets behind the tile, you can get hidden growth in wall cavities while the surface looks "fine."
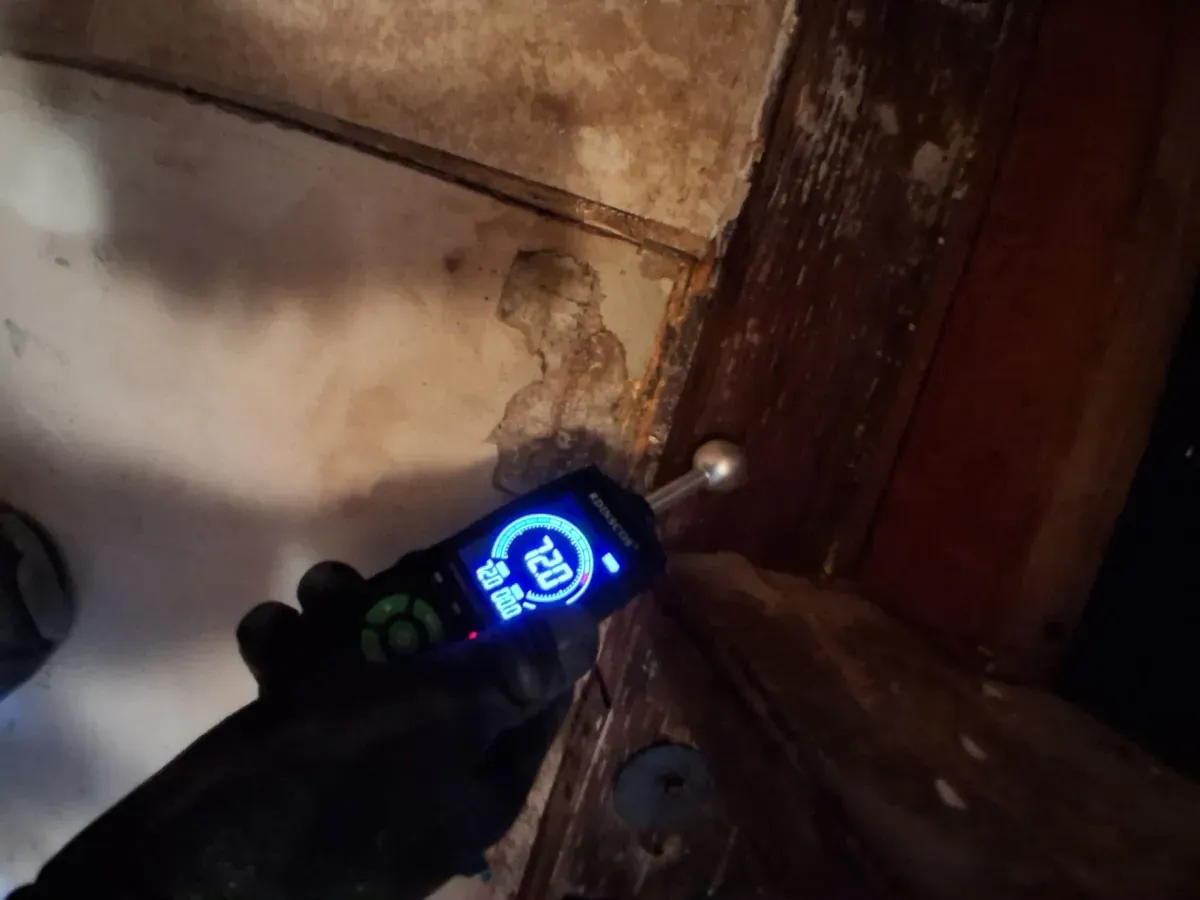
4) Plumbing Leaks Under Sinks (Quiet Mold Factories)
Under-sink cabinets are notorious for slow leaks.
Check monthly:
- Supply lines and shutoff valves
- Drain trap connections
- Disposal connections
- Cabinet base swelling or warping
- Musty odor when you open the doors
Even a tiny drip over weeks can saturate particleboard and create hidden microbial growth.
5) Bathroom-Friendly Materials That Reduce Risk
Upgrades that prevent recurring issues:
- Mold-resistant paint on ceilings/walls (especially above showers)
- Water-resistant backer board in shower surrounds
- Quality sealants for penetrations (around fixtures)
- Avoid wallpaper in bathrooms (it’s a moisture trap)
Basement Mold Prevention: Turning a Damp Basement Into a Dry Basement
Basements are different. Mold here is usually driven by:
- Ground moisture and seepage
- Cold surfaces causing condensation
- Poor airflow and limited sunlight
- Storage habits (cardboard + dust + damp floor)
1) Start Outside: Drainage Is the Foundation of Prevention
If water is reaching your foundation, no dehumidifier alone will "solve" it.
Outside fixes that make the biggest difference:
- Keep gutters clean and flowing
- Extend downspouts away from the home
- Make sure soil slopes away from the foundation (grading)
- Avoid sprinklers saturating the foundation line
This reduces the water pressure against basement walls and slab edges.
2) Control Humidity with the Right Dehumidifier Strategy
Basements often need active humidity control—especially during seasonal shifts and rainy periods.
Targets:
- Keep basement RH ideally below 55%
- Avoid living above 60% for extended periods
Best practices:
- Choose a dehumidifier sized for the square footage
- Run continuously during wet seasons
- Use a hose drain if possible (so it doesn’t shut off due to a full bucket)
- Place it where airflow is open, not jammed in a corner
Pro tip: A cheap humidity monitor gives you instant clarity. If you’re guessing, you’re usually losing.
3) Condensation: The Basement Mold Trigger People Miss
Cold surfaces + warm humid air = condensation. Common condensation spots:
- Metal ducts
- Cold water pipes
- Concrete walls and floors
- Uninsulated HVAC registers
- Metal storage shelves
Fixes:
- Insulate cold water lines to prevent sweating
- Wrap HVAC ducts in unconditioned spaces
- Improve air mixing (fans, HVAC balancing, vents)
- Reduce humidity (dehumidifier + sealing air leaks)
4) Sump Pump + Drain Systems: Your "Wet Season Insurance"
If you have a sump pump, test it before heavy rains.
Checklist:
- Pour water into the pit to confirm it activates
- Confirm discharge line is clear and drains away from the home
- Consider a battery backup if outages are common during storms
Basement flooding isn’t just water damage—it’s a mold event waiting to happen.
5) Storage Habits That Prevent Basement Mold
The basement is where people store the things mold loves: cardboard, fabric, books, paper.
Better storage rules:
- Store items at least 2–4 inches off the floor (shelving or pallets)
- Avoid cardboard directly on concrete (use sealed plastic bins)
- Keep storage away from exterior walls where condensation occurs
- Don’t pack items tightly—airflow matters
Natural and Product-Based Mold Prevention Methods
Prevention isn’t about masking odors or "killing mold" on a surface while ignoring moisture. Still, there are safe, practical products and methods that help reduce growth in high-risk zones.
Natural options (best for maintenance)
- White vinegar (routine wipe-downs in damp-prone areas)
- Baking soda (gentle scrubbing + odor reduction)
- Tea tree oil (some people use it; keep it away from pets and use cautiously)
Important note: If an area keeps re-growing mold, cleaning alone isn’t the solution—moisture is still present.
Product-based upgrades (best for long-term prevention)
- Humidity monitors (simple and extremely effective)
- HEPA air purifiers (help reduce airborne particulates; not a moisture fix)
- Moisture absorbers (help in small enclosed areas—not a basement solution)
- Mold-resistant materials (drywall, insulation, coatings) in remodels
- Leak detection sensors under sinks, near water heaters, laundry rooms
After Water Damage: The 24–48 Hour Rule That Matters
If you have any leak, overflow, or seepage event:
- Dry wet materials immediately
- Remove water-damaged porous items if they can’t be dried quickly
- Increase airflow and dehumidification
The longer materials remain wet, the higher the risk of microbial amplification.
Warning Signs You’re Not "Preventing"—You’re "Managing Symptoms"
If you notice any of the following, you may have an underlying moisture issue:
- Recurring "mildew" smell that returns after cleaning
- Repeated black spotting on grout/caulk
- Bubbling paint, peeling baseboards, swelling cabinets
- Persistent condensation on windows or walls
- Musty odor in closets or behind stored items
Those are signs to investigate, not just wipe down.
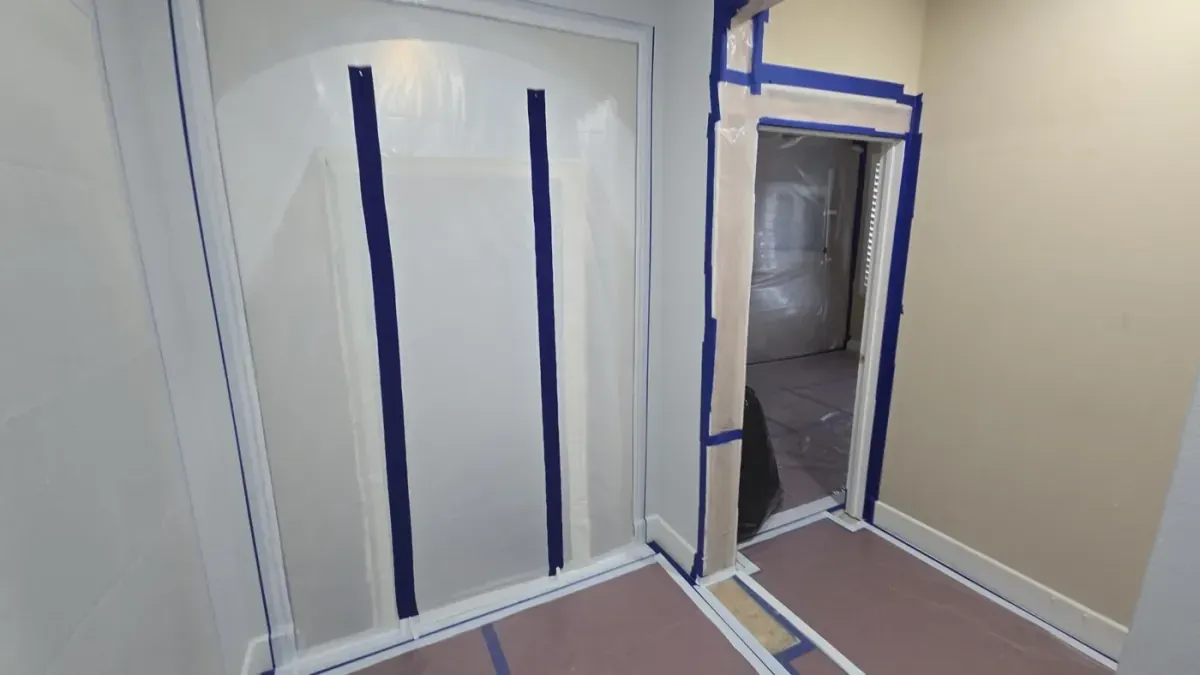
When Professional Help Makes Sense (And What We Look For)
DIY prevention is great for general risk reduction. Professionals are helpful when:
- Mold keeps returning despite cleaning
- There’s a musty odor but no visible source
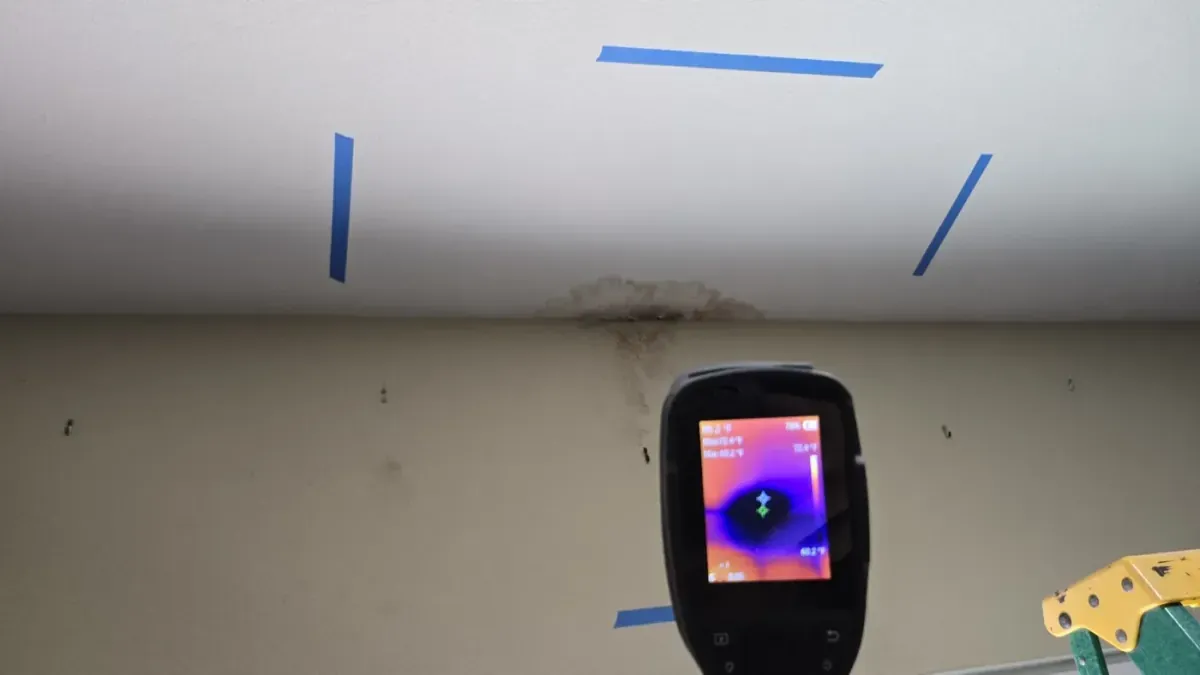
- You suspect hidden moisture in walls, ceilings, or subfloor
- There was flooding or repeated seepage
- Occupants are experiencing persistent symptoms
How RCR Environmental supports long-term prevention:
- Moisture assessments (to find the true source, not just the symptom)
- Identifying condensation patterns and airflow issues
- Crawl space vapor barrier strategies (when applicable)
- Targeted recommendations for drainage, ventilation, and building-envelope improvements
- Air quality testing when hidden issues are suspected
Mold Prevention Quick Checklist (Bathrooms + Basements)
Bathroom checklist
- Run exhaust fan during showers + 20–30 min after
- Squeegee/wipe shower surfaces
- Keep shower doors/curtain open to dry
- Repair leaks immediately
- Replace failing caulk/grout and seal where needed
- Use mold-resistant paint on ceilings
Basement checklist
- Improve drainage (gutters/downspouts/grading)
- Run a properly sized dehumidifier and keep RH under 55–60%
- Insulate pipes to prevent sweating
- Test sump pump before rainy season
- Store items off the floor, avoid cardboard on concrete
- Improve airflow and avoid tight-packed storage
Final Thought: Prevention Is Cheaper Than Remediation
Most mold problems aren’t caused by one big event—they’re caused by small moisture issues that persist. When you control humidity, fix leaks quickly, and prevent condensation, you stop mold before it starts.
If you’re dealing with recurring bathroom mold, a musty basement smell, or you want a professional assessment of risk areas in your home, RCR Environmental can help you build a real prevention strategy—not just a temporary fix.